1. Standard Mode
This document describes the Standard Mode with its two authentication methods. Details of all modes can be found in the Integration Modes section.
Standard Mode provides full access to platform features and persistent user profiles. Users can authenticate through two different methods:
A. Account Linking (Automatic Login) (Recommended)
In this method, the user can be automatically logged in to Classwise if their account on the partner platform is linked to their Classwise account. This solution provides convenience and security, and the user consents to account linking during their first login.
We strongly recommend implementing this functionality, as it provides the most convenient experience for end users—especially teachers. With automatic login, users do not need to manually log in to Classwise each time, streamlining their workflow and saving valuable time. Additionally, since teachers remain logged in, they will have access to their complete history of conducted quizzes in Classwise and can analyze student results more effectively.
To use account linking, send the mode selection request with your JWT token:
{
  "message_type": "mode_selection",
  "data": {
    "type": "standard",
    "token": "your_jwt_token_here"
  }
}
B. Manual Login
Choose this method if you want your users to access all Classwise features and advanced analytics, but you do not wish to implement account linking between your platform and Classwise.
To use manual login, send the mode selection request with token: null:
{
  "message_type": "mode_selection",
  "data": {
    "type": "standard",
    "token": null
  }
}
See: Sending a message to Classwise
User Authentication Requirement
With manual login, the user (teacher) must log in to Classwise before they can proceed to launch a quiz. The authentication flow is handled by Classwise, and your platform does not need to manage user accounts or linking.
Example Implementation
Below is an example of how to initiate Standard Mode authentication with manual login:
function handleMessage(event) {
  if (event.origin !== "https://app.classwise.com") return;

  const dataObj = event.data;

  switch (dataObj.message_type) {
    case "waiting_for_mode_selection":
      // Send standard mode authentication request without token
      const modeMessage = {
        message_type: "mode_selection",
        data: {
          type: "standard",
          token: null,
        },
      };

      event.source?.postMessage(modeMessage, event.origin);
      break;

    case "waiting_for_content":
      // User is authenticated, send quiz content
      sendQuizContent(event);
      break;
  }
}
This example demonstrates sending a mode selection request and handling the response to ensure the user is logged in before accessing quiz features.
Overview
To authenticate a user in Classwise using automatic login, you must:
- Generate an RSA key pair (only once)
- Generate a JWT token containing the user identity
- Sign it with your private RSA key
- Send it to Classwise via
postMessageor API - Classwise will verify the signature using your public key and log the user in (or ask them to create account and then link to an existing account)
Step-by-step Instructions
1. Generate an RSA key pair (once)
To authenticate with Classwise, you need a private-public RSA key pair. The private key is used to sign your JWTs, and the public key will be provided to Classwise for verification.
Here's how to generate the key pair depending on your platform.
macOS & Linux (via terminal)
You likely already have OpenSSL pre-installed.
# Step 1: Generate private key
openssl genrsa -out private.pem 2048

# Step 2: Generate public key from the private key
openssl rsa -in private.pem -pubout -out public.pem
Windows
- Option A: Using Git Bash or WSL
If you have Git Bash or Windows Subsystem for Linux (WSL), you can use the same commands as macOS/Linux.
- Option B: Using OpenSSL for Windows
- Download OpenSSL:
- Get a Windows binary from: https://slproweb.com/products/Win32OpenSSL.html
- Install it with default settings.
- Open the "OpenSSL Command Prompt" or your terminal.
- Run:
openssl genrsa -out private.pem 2048
openssl rsa -in private.pem -pubout -out public.pem
Key Management Tips:
- Never share your private key (
private.pem) — keep it in a secure place or a secrets manager. - Send
public.pemto Classwise, preferably via email or secure channel. See: Partner-Level authorization - You can rotate keys in the future by registering a new
kid(key ID).
2. Create a JWT for the user
Here's an example using Node.js:
import fs from "fs";
import jwt from "jsonwebtoken";

const privateKey = fs.readFileSync("./private.pem", "utf-8"); //or other mechanism for loading private key

const payload = {
  sub: "user-123", // unique user ID in your system
  email: "user@example.com",
  name: "Jane Doe",
  iat: Math.floor(Date.now() / 1000),
  exp: Math.floor(Date.now() / 1000) + 5 * 60, // valid for 5 minutes
};

const token = jwt.sign(payload, privateKey, {
  algorithm: "RS256",
  keyid: "partnerX", // matches the public key registered with Classwise
});

console.log(token);
3. Embed Classwise and send the token
In your app or dashboard using iframe:
const iframe = document.getElementById("classwise-app-iframe");

// Listen for messages from Classwise
function handleMessage(event) {
  if (event.origin !== "https://app.classwise.com") return;

  const dataObj = event.data;

  if (dataObj.message_type === "waiting_for_mode_selection") {
    // Send standard mode selection with JWT token
    iframe.contentWindow.postMessage(
      {
        message_type: "mode_selection",
        data: {
          type: "standard",
          token: "<your JWT here>",
        },
      },
      "https://app.classwise.com"
    );
  }
}

window.addEventListener("message", handleMessage);
Or using new tab:
const classwiseWindow = window.open("https://app.classwise.com", "_blank");

// Listen for messages from Classwise
function handleMessage(event) {
  if (event.origin !== "https://app.classwise.com") return;

  const dataObj = event.data;

  if (dataObj.message_type === "waiting_for_mode_selection") {
    // Send standard mode selection with JWT token
    classwiseWindow.postMessage(
      {
        message_type: "mode_selection",
        data: {
          type: "standard",
          token: "<your JWT here>",
        },
      },
      "https://app.classwise.com"
    );
  }
}

window.addEventListener("message", handleMessage);
Token requirements
Your JWT must:
- Be signed with your private RSA key using
RS256 - Include:
sub— unique user ID in your system, requiredemail— optionalname— optionaliatandexp— required
- Have a
kidheader matching the registered public key ID (e.g.partnerX)
Account Linking
When authenticating with a partner token, Classwise handles user accounts in the following way:
- If the user already has a Classwise account and it is linked to the partner account (based on the unique
subID), the user is logged in automatically — no further action required. - If the user does not have a Classwise account yet, they will see a modal asking them to create one. After registration, they'll be informed about the option to link their account with the partner.
- If the user has a Classwise account, they'll be offered the option to link their account with the partner identity.
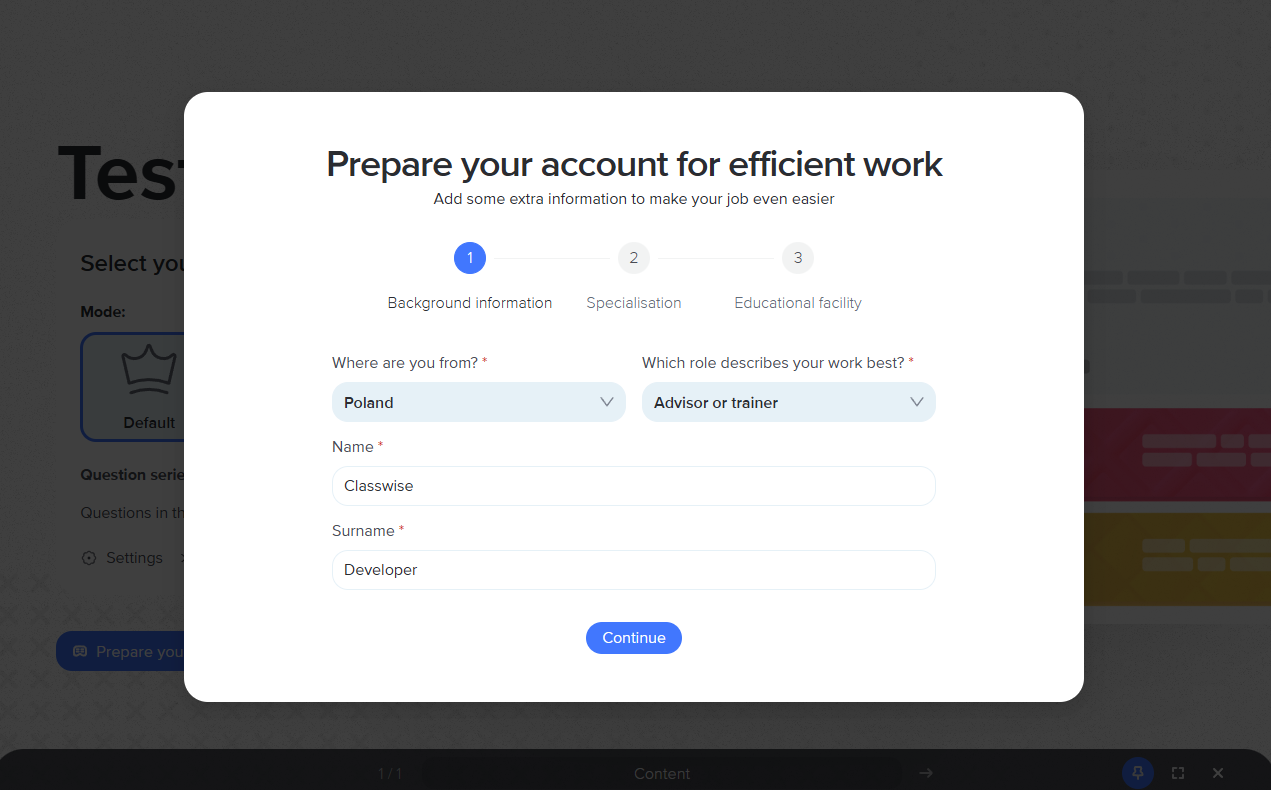
Filling required account information after registration
If a user is logged in to Classwise for the first time, they will be asked to provide personal information before the quiz begins. The user must provide a name if they are an individual or a name if the account is an organisation.
Example: Handling Mode Selection Errors
Classwise may respond with error messages if mode selection fails in Standard Mode:
function handleMessage(event) {
  if (event.origin !== "https://app.classwise.com") return;

  const dataObj = event.data;

  if (dataObj.error) {
    switch (dataObj.error.message) {
      case "mode_selection_failed":
        console.error("Standard mode selection failed:", dataObj.error.details);
        // Handle error - maybe retry with different token or fallback to manual login
        break;

      case "missing_kid":
        console.error(
          "JWT token is missing 'kid' header:",
          dataObj.error.details
        );
        // Add 'kid' header to JWT token that matches registered public key ID
        break;

      case "partner_not_found":
        console.error("Partner not found:", dataObj.error.details);
        // Verify that your partner is registered with Classwise
        break;

      case "missing_public_key":
        console.error(
          "Public key not found for partner:",
          dataObj.error.details
        );
        // Ensure your public key is registered with Classwise
        break;

      case "token_not_yet_valid":
        console.error("JWT token is not yet valid:", dataObj.error.details);
        // Check 'iat' (issued at) time in token - it might be set in the future
        break;

      case "token_expired":
        console.error("JWT token has expired:", dataObj.error.details);
        // Generate a new token with updated expiration time
        break;

      case "invalid_token":
        console.error("JWT token is invalid:", dataObj.error.details);
        // Verify token format, signature, and required claims
        break;

      case "token_decoding_failed":
        console.error("Failed to decode JWT token:", dataObj.error.details);
        // Check token format and ensure it's properly Base64 encoded
        break;

      case "account_linking_failed":
        console.error("Account linking failed:", dataObj.error.details);
        // User might need to manually link their account
        break;

      case "user_not_authenticated":
        console.error("User authentication required:", dataObj.error.details);
        // User needs to be authenticated before sending content
        break;

      case "Message validation failed":
        console.error("Invalid message format:", dataObj.error.details);
        // Check your message structure and required fields
        break;

      default:
        console.error("Unexpected error:", dataObj.error);
        break;
    }
  }
}
Error Handling
When using Standard Mode, you may encounter these error responses:
| Error Type | Description | Action Required |
|---|---|---|
mode_selection_failed | Mode selection process failed | Retry with different parameters or use different mode |
missing_kid | JWT token is missing 'kid' header | Add 'kid' header that matches registered public key ID |
partner_not_found | Partner not found in Classwise system | Verify that your partner is registered with Classwise |
missing_public_key | Public key not found for partner | Ensure your public key is registered with Classwise |
token_not_yet_valid | JWT token 'iat' time is in the future | Check 'iat' (issued at) time in token |
token_expired | JWT token has expired | Generate new token with valid expiration time |
invalid_token | JWT token format or signature is invalid | Verify token generation, signing process and claims |
token_decoding_failed | Failed to decode JWT token | Check token format and Base64 encoding |
account_linking_failed | Failed to link user account with partner account | Guide user through manual linking process |
user_not_authenticated | Content sent before authentication completed | Wait for authentication to complete |
Error Recovery Strategies
For JWT Token Issues:
// Example: Handle token expiration by generating a new token
if (error.message === "token_expired") {
  try {
    const newToken = await generateNewJWTToken(userId);
    // Retry mode selection with new token
    sendModeSelection(newToken);
  } catch (tokenError) {
    // Fallback to manual login
    sendModeSelection(null);
  }
}

// Example: Handle missing kid header
if (error.message === "missing_kid") {
  console.log("Adding 'kid' header to JWT token");
  const tokenWithKid = jwt.sign(payload, privateKey, {
    algorithm: "RS256",
    keyid: "your_partner_key_id", // Add the missing kid header
  });
  sendModeSelection(tokenWithKid);
}

// Example: Handle partner configuration issues
if (
  error.message === "partner_not_found" ||
  error.message === "missing_public_key"
) {
  console.error(
    "Partner configuration issue. Please contact Classwise support."
  );
  // Show user-friendly error message
  showErrorMessage("Configuration issue. Please contact support.");
}
For Account Linking Issues:
// Example: Fallback to manual login if account linking fails
if (error.message === "account_linking_failed") {
  console.log("Account linking failed, switching to manual login");
  const manualModeMessage = {
    message_type: "mode_selection",
    data: {
      type: "standard",
      token: null,
    },
  };
  event.source?.postMessage(manualModeMessage, event.origin);
}